The Command-line
While graphical interfaces like Anaconda Navigator are a good entry point, the command-line is much faster and more powerful. Don't panic—it's simpler than it seems. Even if you're new to coding, you can learn the basics in just a few minutes.
Opening Your Terminal
Let's get started:
- Windows: Search for "PowerShell" or "Anaconda PowerShell Prompt" in your Start menu.
- macOS & Linux: Open the "Terminal" app.
You should see a window similar to this:
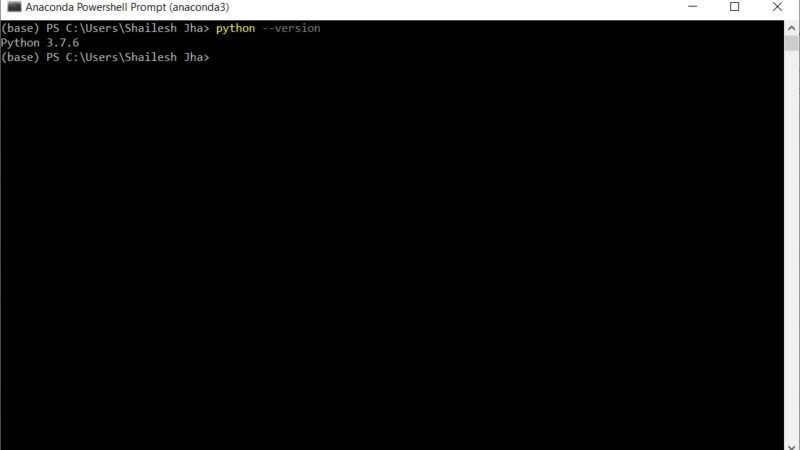
If you installed Anaconda, you'll see (base) at the start of the line. If you're using uv, your prompt might look slightly different. The rest of the line shows your "current working directory"—the folder you currently have open. On Windows, this is usually C:\Users\YourName, and on macOS/Linux, you'll see ~, which is shorthand for your home folder.
First Commands
Type cd Desktop and press Enter to "change directory" to your Desktop. Then type ls (or dir on some Windows setups) to list its files.
cd Desktop
ls
Tip
Think of commands as "buttons." For example, cd is like double-clicking a folder to open it.
Mastering New Commands
Knowing what to type can be challenging at first. Most tools have a base command (like uv or conda) that you can follow with --help to see what it can do.
Try running the help command for your chosen tool:
uv --help
conda --help
You'll see a list of subcommands like create, install, or run. Don't feel like you need to memorize these! You can always check the help page, search online, or ask an AI assistant for the specific command you need.
Next, we'll use these tools to create an environment and install Simmate.