An Introduction to Python & Spyder
Introduction to Python
If you're new to coding and Python, you will still be able to read along and follow this tutorial.
However, we strongly recommend dedicating 2-3 days to learn Python fundamentals once you complete the tutorial. Python fundamentals are beyond the scope of our guides, but resources such as Codecademy's Python lessons are excellent for beginners.
Where to write Python code
Remember from the Installation tutorial: uv and Anaconda provide ways to manage your Python environment. Once you have an environment, you need a program to write your code in. Just as there are various platforms for writing papers, like Microsoft Word, Google Docs, and LibreOffice, there are various programs for writing Python (called IDEs).
Our team prefers Spyder, and we highly recommend it to our users. We will use Spyder in this tutorial.
Launching Spyder
Tip
If you're already comfortable with Python or have completed a python course, you can quickly familiarize yourself with Spyder by watching their intro videos. There are 3 videos, each under 4 minutes long.
i. Opening the App
Launch Spyder from your computer's apps (use the search bar at the bottom-left of your screen on Windows).
Open the Spyder app you downloaded from their website.
Select Spyder (my_env) from your apps list.
ii. Connecting your Environment
If you used uv (or the standalone Spyder installer), you must tell Spyder to use the my_env environment you created earlier.
Connecting uv to Spyder
- In Spyder, go to Tools > Preferences > Python interpreter.
- Select Use the following Python interpreter.
- Click the folder icon and find your
my_envfolder.- Windows:
C:\Users\YourName\my_env\Scripts\python.exe - Mac/Linux:
/Users/YourName/my_env/bin/python
- Windows:
- Click Apply and then OK.
- Restart the Python console (click the
xon theConsole 1/Atab at the bottom-right).
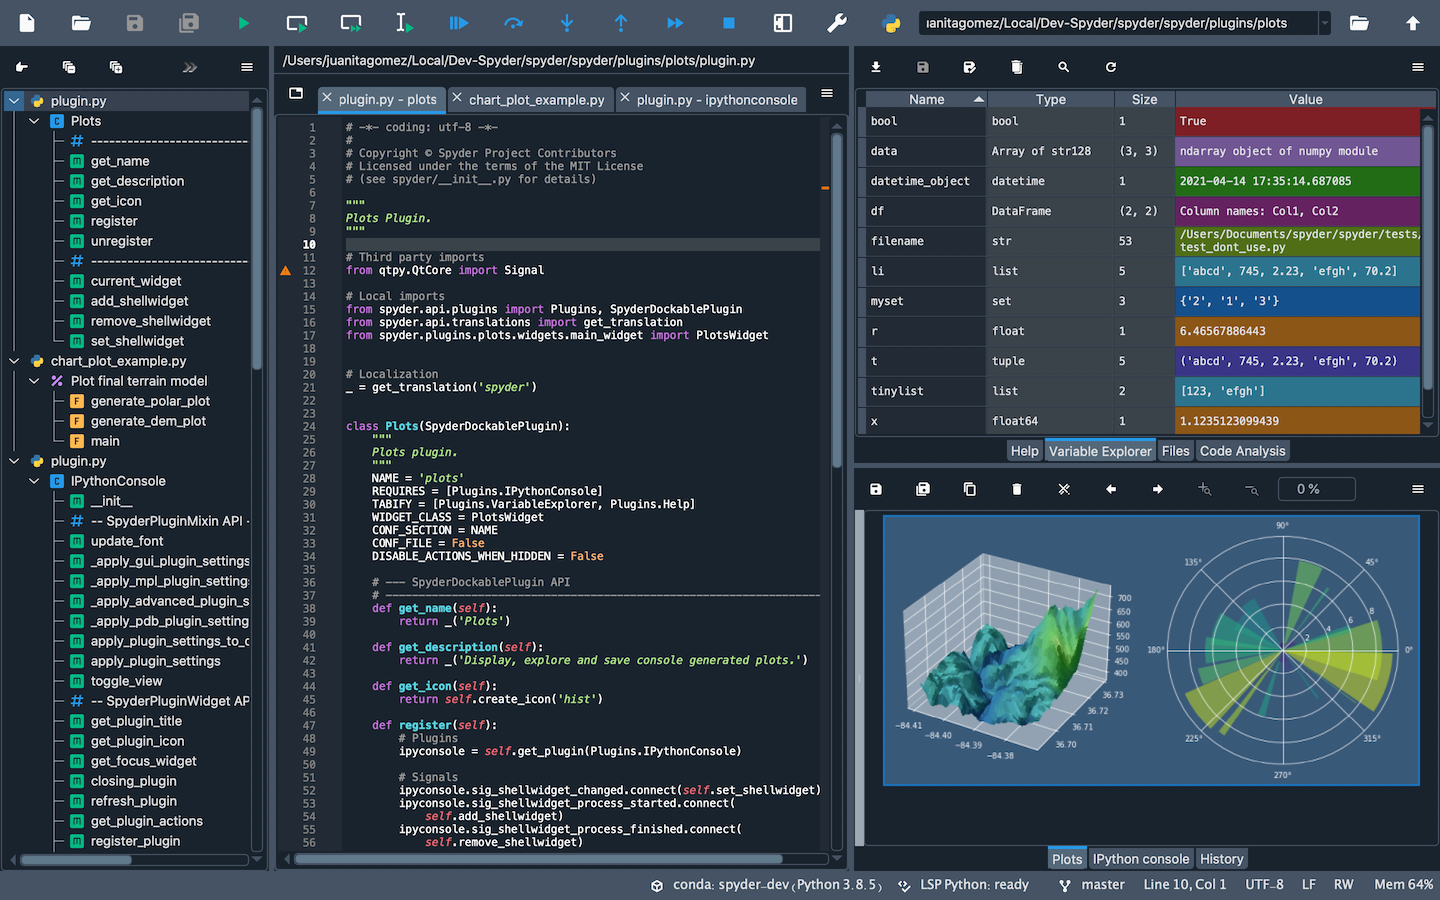
Spyder will be empty when you first launch it. Here's a glimpse of what Spyder looks like when it's in use:
Running Python code
For this tutorial, we'll only be using the Python console (located at the bottom-right of the screen). The console behaves just like our command-line, except it runs Python code instead.
To kick things off, paste the following in the console & hit enter to run:
x = 123 + 321

print("Using Python, we found the value of x:")
print(x)
In the output, you should see our message and the answer 444.